Optimise Your LinkedIn for Recruiters Without Sounding Fake
Recruiters are not “browsing”. They are filtering.
Most people treat LinkedIn like a public CV. They polish it, post a few buzzwords, add a professional headshot, then wait for opportunity to knock.
It does not work like that.
Recruiters do not read LinkedIn profiles in a calm, reflective way. They run searches. They scan. They compare. They shortlist fast. If your profile is vague, bloated, or empty of proof, you will be invisible.
Here is the brutal truth. Recruiters are not trying to “discover your potential”. They are trying to reduce risk. Your job is to make it easy for them to say yes.
This guide shows you exactly how to optimise your LinkedIn profile for recruiters, without fluff, without cringe, and without pretending to be a “thought leader”.
How recruiters actually use LinkedIn (so you stop guessing)
You cannot optimise for recruiters if you do not understand their workflow.
Most recruiter activity is search-first, not profile-first
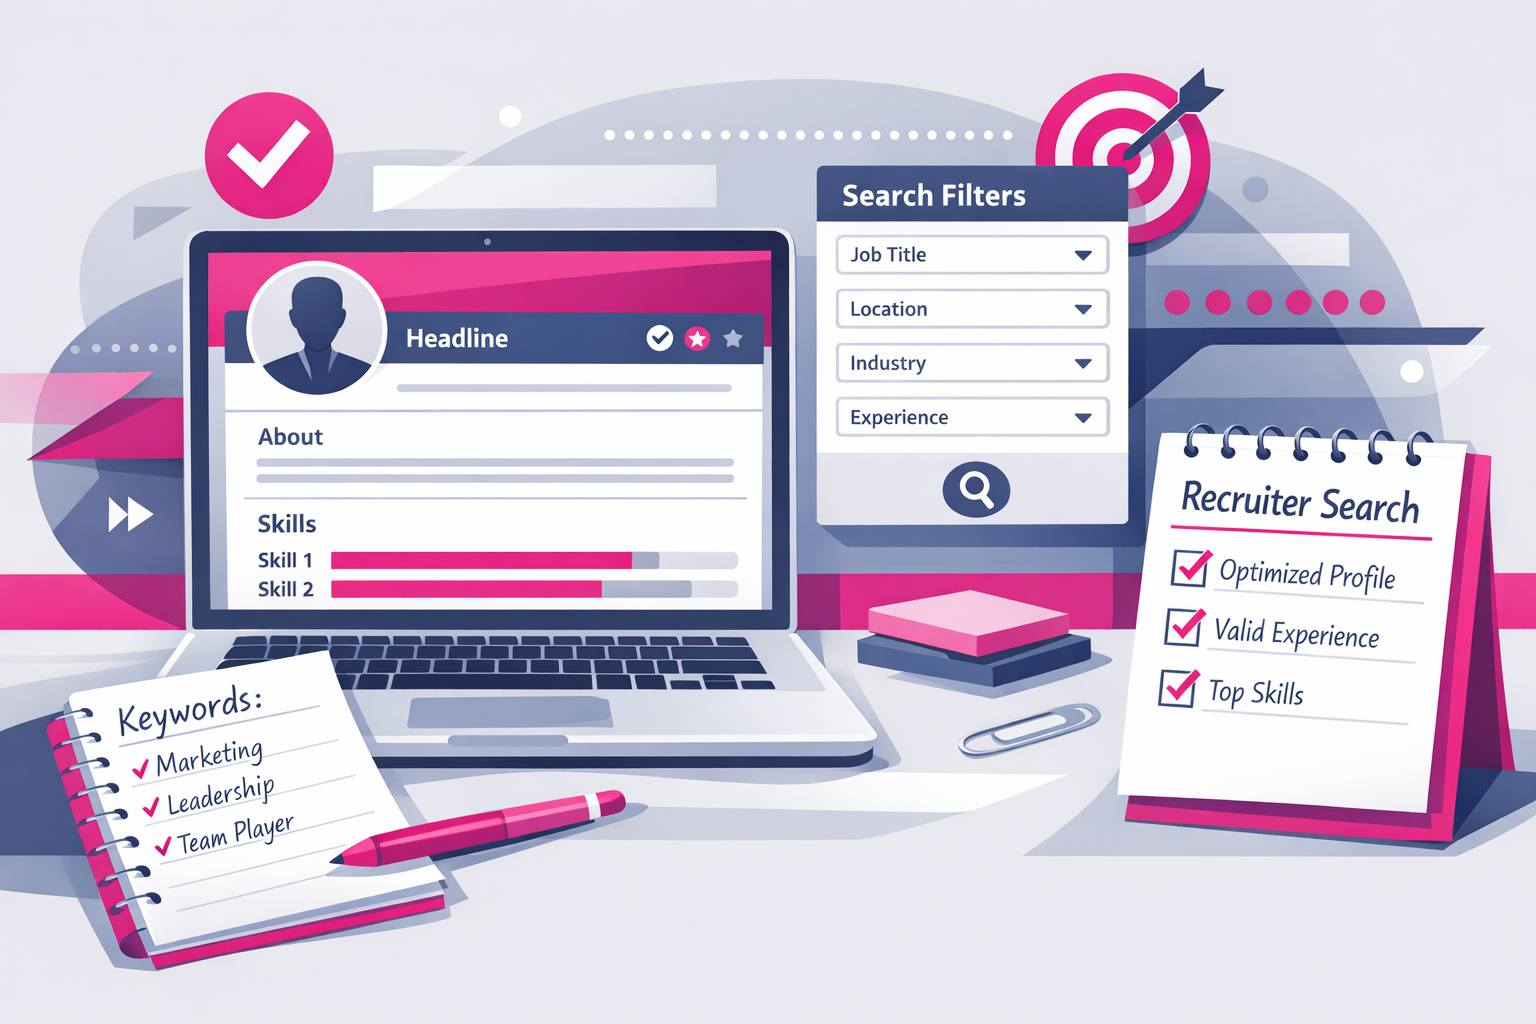
They start with a role requirement, then search LinkedIn using:
- Job titles (current and past)
- Skills keywords
- Location
- Industry
- Years of experience
- Specific tools and certifications
- Boolean terms (AND, OR, NOT) to narrow results
If your profile does not contain the words they search, you do not appear. If you do appear but your profile does not instantly match the role, you get skipped.
They make a decision in seconds
They are not being unfair. They are being efficient. A recruiter may review hundreds of profiles per vacancy. Your profile must answer three questions immediately:
- What do you do?
- How good are you at it?
- Can you prove it?
They care about evidence, not adjectives
“Hard-working”, “team player”, “results-driven” is noise. Recruiters want:
- Clear role fit
- Relevant skills and tools
- Outcomes you achieved
- Signals of reliability (tenure, progression, recommendations)
LinkedIn is a ranking system plus a credibility check. Optimise for both.
Step 1: Decide your target role (or you will look confused)
If you try to appeal to everyone, you will rank for nothing.
Pick one target role family for the next 60 to 90 days. Examples:
- “Junior Data Analyst”
- “Customer Support Advisor”
- “Graduate Marketing Assistant”
- “IT Support Technician”
- “Operations Coordinator”
If you want two paths, fine. Build two versions of your keyword set and choose one to prioritise on LinkedIn. The profile should not read like a messy buffet.
A simple role definition template
Write this sentence and keep it next to you while editing:
- Target role: I am pursuing [role] in [industry] where I use [skills/tools] to achieve [outcome].
This becomes your headline, your About section, and your experience bullets.
Step 2: Build a keyword list that recruiters actually search
Optimisation starts with language. LinkedIn search is literal. You need the same terms recruiters type into the search bar.
How to build your keyword list in 20 minutes
- Find 10 job adverts for your target role.
- Copy the “Requirements” and “Responsibilities” text into a document.
- Highlight repeated nouns and tools. Ignore fluffy words.
- Make a list of 25 to 40 keywords.
Typical keyword types:
- Role titles: Customer Success Associate, Sales Development Representative
- Tools: Excel, Zendesk, Salesforce, Power BI, Jira, Google Analytics
- Methods: stakeholder management, root cause analysis, QA testing
- Deliverables: reporting, dashboards, onboarding, triage, reconciliation
- Compliance: GDPR, ISO 27001, safeguarding
Where those keywords must appear
Place your keywords in:
- Headline
- About
- Experience (bullets, not paragraphs)
- Skills section
- Licences and certifications
- Projects
- Featured (case studies, portfolios)
Do not keyword-stuff. Use plain English, but include the terms.
Step 3: Fix your headline (it is your search and click trigger)
Your headline is not a slogan. It is a routing instruction for the recruiter and for LinkedIn search.
What most people do (and why it fails)
Bad headlines look like this:
- “Student at University of X”
- “Looking for opportunities”
- “Aspiring professional”
- “Motivated and passionate”
None of those tell a recruiter what to do with you.
A headline formula that works
Use this structure:
- Target role | Key skills/tools | Proof/interest area
Examples:
- “Junior Data Analyst | Excel, SQL, Power BI | Dashboarding and insight reporting”
- “IT Support Technician | Windows, Office 365, Active Directory | Ticket triage and user support”
- “Marketing Assistant | Content, SEO, Google Analytics | Campaign support and reporting”
If you have no experience yet
Do not hide. Do not apologise. Anchor on capability and evidence:
- “Entry-Level Data Analyst | Excel, SQL, Power BI | Portfolio projects in retail and finance”
Recruiters are fine with entry-level. They are not fine with unclear.
Step 4: Rewrite your About section to sound like a capable adult
Most About sections are either empty or read like a motivational poster.
Your About section should do one job: make a recruiter feel safe moving you to shortlist.
Use this 6-part About structure
- Role identity: what you do or are targeting
- Strengths: 3 to 5 role-relevant skills
- Proof: outcomes, projects, placements, achievements
- Tools: what you can use on day one
- Preference: role type, industry, location, work pattern
- Call to action: what you want people to do next
Copy-and-edit About template (use it)
About
I am pursuing entry-level roles in [target role] where I can contribute in [industry/context]. I work best on problems that need [strength 1], [strength 2], and [strength 3].
Recent proof of capability includes [project/placement/achievement] where I [action] and achieved [measurable result]. I have also built experience in [second proof].
Tools: [tool 1], [tool 2], [tool 3], [tool 4].
Currently open to [permanent/contract], [location], [hybrid/onsite/remote], ideally in [industry]. If you are hiring for [target role], message me with the role spec and I will reply with relevant examples of my work.
Rules that keep it credible
- Write in first person. Own it.
- Use numbers where possible.
- Short paragraphs, no walls of text.
- No clichés. If it could be copied onto any profile, delete it.
Step 5: Make your Experience section recruiter-readable
Recruiters skim Experience for role fit and evidence. If your job descriptions are vague, you look junior even if you are not.
Use outcome-driven bullet points
For each role, aim for 4 to 6 bullets. Structure them like this:
- Action + tool/method + outcome + metric
Examples:
- Resolved 25 to 35 customer tickets per day in Zendesk, maintaining 95%+ CSAT over 3 months.
- Built weekly Excel reporting pack for stock and orders, reducing manual reconciliation time by 2 hours per week.
- Supported onboarding of 12 new starters by creating step-by-step SOPs and FAQ pages in Confluence.
If you have little or no paid experience
You still have experience. You just need to label it properly.
Add entries for:
- University projects (if they are relevant and specific)
- Personal projects (portfolio work)
- Volunteering
- Work experience placements
- Freelance gigs
Then write bullets the same way: actions, tools, outcomes.
Stop listing responsibilities with no proof
These bullets waste space:
- “Responsible for handling customer queries”
- “Worked in a team environment”
- “Helped with admin tasks”
Replace with what you actually did, how often, with what tools, and what improved.
Step 6: Treat the Skills section like a search index
Skills are not decoration. They are part of how you appear in recruiter searches and how you look at a glance.
What to do
- Add 30 to 50 skills relevant to your target role.
- Pin the top 3 to match the job adverts you want.
- Make sure your Experience bullets support those skills.
What to avoid
- Adding random skills you cannot explain in interview
- Listing soft skills as your top 3
- Leaving skills unendorsed forever
How to get endorsements without begging
Message 5 people you have worked with or studied with and make it easy:
- Ask them to endorse 3 specific skills.
- Offer to endorse theirs in return.
- Give context: “We worked together on X, you saw me do Y.”
Keep it short. Professionals respond to clarity.
Step 7: Add proof in Featured (this is where you beat the competition)
Most LinkedIn profiles are claims with no receipts.
The Featured section is where you show proof fast. Recruiters love anything that reduces uncertainty.
What to feature
- A one-page CV (PDF)
- A portfolio link (Notion, Google Drive, GitHub, Behance, personal site)
- Two to three case studies (PDFs or posts)
- A project write-up with screenshots
- A short presentation deck
What a strong case study includes (keep it tight)
- Problem
- Context
- Your approach
- Tools
- Outcome and metrics
- What you would improve next time
If you are applying for your first job, a simple portfolio can do more than another certificate. Proof beats potential every time.
Step 8: Use recommendations strategically (quality over quantity)
A recommendation is a third-party risk-reducer. It tells a recruiter: “This person turns up and delivers.”
Who to ask
- A manager or supervisor
- A placement mentor
- A lecturer who oversaw a real project
- A client (even for small freelance work)
How to ask so you actually get one
Do not ask: “Can you write me a recommendation?”
Ask with structure:
- The role you are targeting
- What you did with them
- 2 to 3 traits you want evidenced
- A specific outcome they can mention
Example message:
“I am applying for junior operations roles. Would you be willing to write a short LinkedIn recommendation focused on reliability, attention to detail, and how I improved our weekly reporting process? Specifically the time we reduced errors in the tracker and hit the deadline for four consecutive weeks.”
You are not being pushy. You are being useful.
Step 9: Fix the basics recruiters silently judge
Small things create big doubt. Recruiters rarely tell you why you were skipped. They just move on.
Photo: simple, clear, current
- Face visible, good lighting
- Neutral background
- Dress one level above the job you want
- No group photos, no cropped wedding shots
Banner: use it to reinforce your direction
Your banner should not be random scenery. Use a clean banner that supports your target industry or your work, for example a subtle tech, finance, healthcare, or logistics visual, or a simple text banner with your role and key skills.
Location and open-to settings
- Set your location to where you can actually work.
- Use “Open to work” thoughtfully. If you are early career, it can help. If you are currently employed and discreet, restrict to recruiters only.
Custom URL
Edit your LinkedIn URL to: linkedin.com/in/firstname-lastname. It looks professional and is easier to share.
Step 10: Message recruiters like a professional, not a fan
Optimisation is not only your profile. It is how you convert views into conversations.
What not to send
- “Hi, I am interested in any opportunities.”
- “Please review my profile.”
- Long autobiographies
A message template that gets replies
Subject / first line: [Role] application, quick question
Message:
Hi [Name], I am applying for [role] roles in [location]. I noticed you recruit for [company/type]. I have experience in [2 relevant skills/tools] and recently delivered [one proof with metric]. Are you the right person to speak to about [vacancy link or role family]? If so, I can send a one-page CV and two relevant work samples.
This works because it is specific, brief, and evidence-based.
Common LinkedIn mistakes that quietly kill your chances
1) You are “open to anything”
Recruiters do not hire “anything”. They hire for a spec. Pick a lane.
2) You use buzzwords instead of tools
“Strategic thinker” is not a skill. Excel is. Jira is. Salesforce is. Put real tools in your profile.
3) You never show output
If you say you can analyse data, show a dashboard. If you say you can write, show a report. If you say you can manage projects, show a plan.
4) Your profile reads like a personality test
Recruiters are not hiring your horoscope. They are hiring your capability.
5) You disappear after building the profile
LinkedIn rewards activity. You do not need to post daily. But you do need to exist.
A brief implementation plan (do this this week)
Day 1: Direction and keywords
- Choose your target role.
- Build your 25 to 40 keyword list from job adverts.
Day 2: Profile rebuild
- Rewrite headline using the formula.
- Rewrite About using the 6-part structure.
- Update Experience bullets for your last 1 to 2 roles or projects.
Day 3: Proof and credibility
- Add 2 items to Featured (CV plus one case study or portfolio link).
- Add 30 to 50 skills, pin the top 3.
- Request 1 recommendation and 5 targeted endorsements.
Day 4 onwards: Outreach and upkeep
- Send 5 recruiter messages using the template.
- Apply to roles and tailor your headline keywords if needed.
- Once per week: add one new proof item or project update.
The standard you should hold yourself to
Your LinkedIn profile is not a biography. It is a hiring asset.
If a recruiter lands on your profile, they should instantly see:
- Where you fit
- What you can do
- How you have proven it
- How to contact you
Do that, and LinkedIn stops being a popularity contest and starts becoming what it is supposed to be: a pipeline.
Next Steps
Want to learn more? Check out these articles:
Write a Thank-You Email After an Interview That Wins
Panel Interview Preparation: The Only Checklist You Need
Build a Job Portfolio With No Experience [Step-by-Step]
Check out our Advanced Employability Course for all the help you need to get your dream job, fast.